Seasonal Window and Siding Maintenance Checklist
We learned the hard way that windows and siding aren’t a “fix it once and forget it” investment. The weather in Eastern Washington is tough—hot, dry summers and cold, wet winters put serious stress on both.
We started keeping a simple checklist of what to look for each season, and it has saved us thousands in repair bills. This is what we check, and when.
The Problem, Stated
Water always finds a way in. The moment your window frame or siding develops a small gap, a crack, or a place where caulk is missing, water gets behind the surface.
It sits there, freezes in winter, thaws in spring, and gradually rots the wood. By the time you notice a problem—moisture inside the window, soft spots in the trim, or stains inside—the damage is already months old.
The cheapest repair is the one you make before there’s a problem at all.
That’s why we look at our windows and siding four times a year. It takes an afternoon, costs nothing, and catches problems when they’re still small—when a bead of caulk fixes them instead of replacing the whole frame.
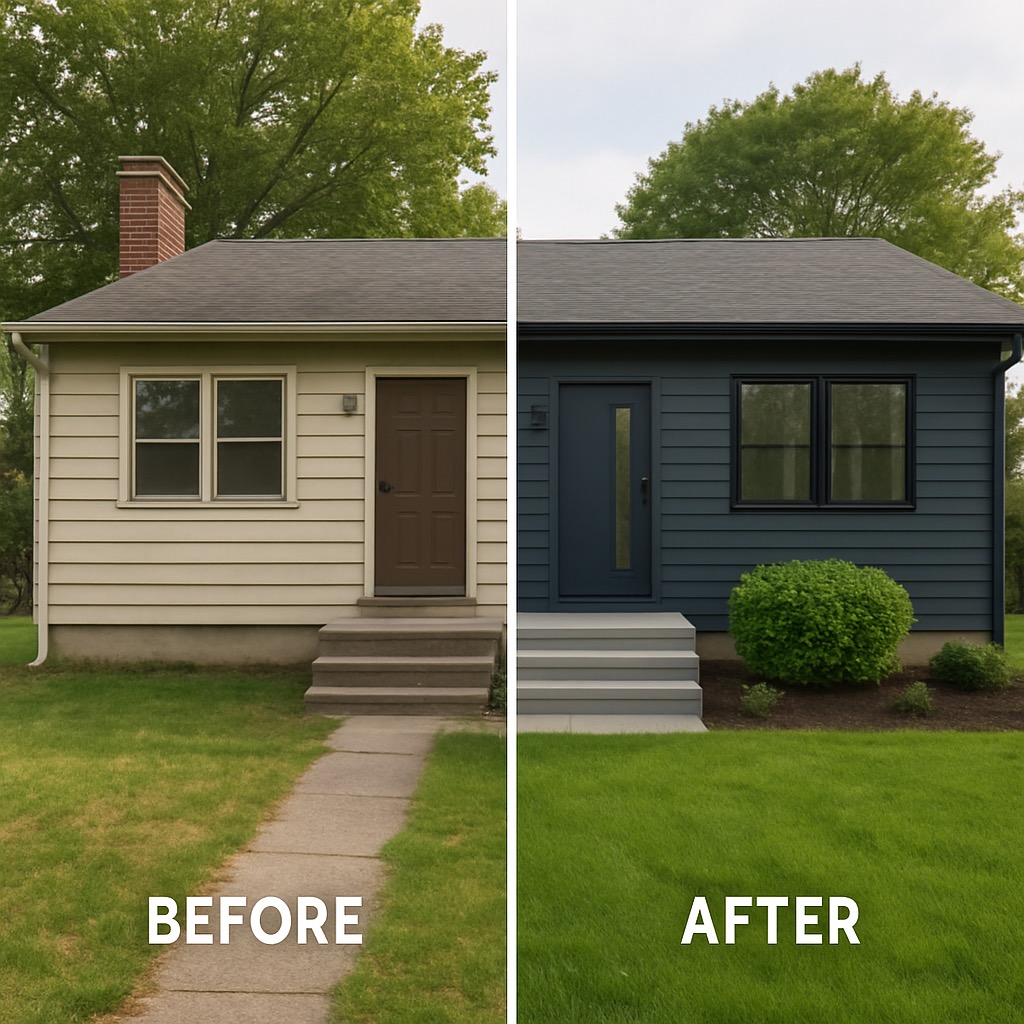
When to Call a Professional
Most of what’s on our checklist is visual inspection and simple maintenance—things you can do yourself. But some things require professional attention.
If you find soft, spongy wood, rotting caulk that won’t hold, gaps that frost gets into, or water stains inside the walls, these are signs that something bigger has happened.
A professional can tell whether the frame itself is compromised or whether sealing and weatherproofing will hold it. They have the tools to measure moisture behind the surface and to remove and replace frames without damage to the wall around them.
If you’ve caught a problem early, this is a manageable repair. If you’ve waited, it becomes expensive.
We learned to document what we see—photos from the same spot in the same season year to year—because it makes the conversation with a contractor much clearer. Instead of saying “the window seems off,” you can show a photo from last year and say “this gap has gotten bigger.”

What to Consider First
Spring Inspection
Look for damage from freeze-thaw cycles. Check caulk around the frame—it should be smooth and flexible, not cracked or peeling.
Look for soft wood in the sill and trim. Open and close each window to make sure it operates smoothly.
Summer Readiness
High winds and heavy rain test whether your windows keep water out. Check that weatherstripping is intact and that screens fit properly before storm season.
The sun damages caulk over time, so replacement caulk is cheap insurance. Check for places where trim is pulling away from the frame or where caulk is missing entirely.
Fall Preparation
As temperatures drop, moisture becomes visible. Condensation on the inside of windows means either humidity is too high inside or the window’s insulating layer is failing.
Dehumidify the space first. Check that weatherstripping is still flexible and that no gaps have opened around the frame over the summer.
Winter Monitoring
Winter is when you feel problems if they exist. Drafts, condensation, frost inside the frame, or water pooling on the sill all point to issues.
Don’t force windows that are sticky—that causes additional damage. Address the stickiness in warmer months when the wood and frame are more forgiving.
What It Typically Costs
Maintenance Costs
Replacing caulk costs almost nothing—usually under fifty dollars for materials even if you hire it done. Weatherstripping replacement is similar.
Cleaning and lubricating sticky windows is free if you do it yourself with soap and water or a simple silicone lubricant. These small investments four times a year prevent the expensive ones.
Repair Costs
If water damage is caught early—soft wood that can be cut out and replaced, or rotting casing that can be removed and re-shingled—repair costs range from a few hundred to a couple thousand dollars.
If rot has spread into the framing behind the wall, you’re looking at serious structural repair. The difference is usually six months of inspection versus ignoring small problems until they’re big ones.
Replacement Costs
A single window replacement runs from five hundred to two thousand dollars depending on size, style, and materials. Full siding replacement is significantly more—tens of thousands.
Every window you maintain properly is one you don’t have to replace. Every frame you seal before water gets in is a frame that lasts decades instead of years.
The Options Compared
You can approach window and siding maintenance in three ways. The first is to ignore it—to wait until something obviously breaks and then call a contractor. This is the most expensive path over time, because small problems become big ones.
The second approach is reactive maintenance: you inspect once a year, catch some problems, and fix them after they’re visible. This is better, and it’s what many homeowners do.
The third approach is seasonal inspection—looking four times a year, catching problems early, and doing maintenance before weather stress exposes failures. This is the path we chose, and it’s saved us money every year.
The seasonal checklist isn’t complicated. Spring: look for freeze damage and make sure windows open smoothly. Summer: check caulk and weatherstripping before storm season. Fall: look for condensation and seal any gaps that have opened. Winter: identify drafts and moisture, and plan repairs for spring.
That’s it. An afternoon four times a year catches problems when they’re still small. Small problems are cheap to fix. The cost of four afternoons a year in inspection and simple maintenance is nothing compared to replacing a rotted frame or wall section.