Window Replacement Project Guides: From Measuring to the Final Seal
Window replacement is one of those projects that looks straightforward from the outside but gets complicated the moment you start pulling frames. We’ve walked through enough of them now to know what goes wrong, where to find surprises, and most importantly, when to call someone who does this work every single day. This guide is what we wish we’d known before our first one.
A window isn’t just a hole in the wall — it’s the line between inside and outside, and every detail matters.
What it should look like when done
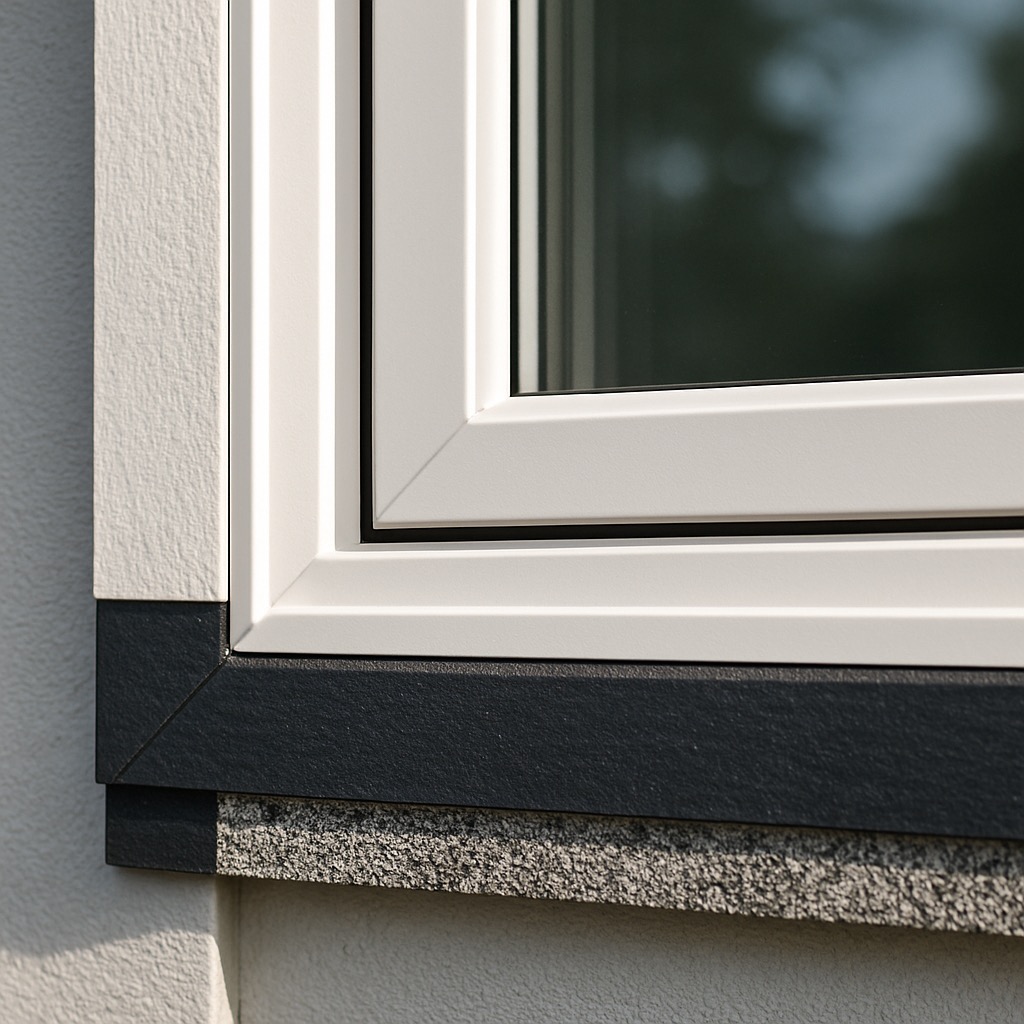
A finished window sits flush in the frame, with clean caulking around the perimeter and no visible gaps. The sash moves smoothly, seals against the weather, and you can’t hear wind whistling through the edges. Inside, the trim is straight and properly finished. Outside, the flashing sheds water and doesn’t trap moisture against the wall.
Step through it
- Measure twice, order once. Width and height are straightforward, but rough opening measurements matter — the space the frame sits in, not the glass. Many window orders go wrong because the rough opening was 1/8 inch off, and there’s no tolerance for that.
- Remove the old frame. Carefully. You’ll likely break glass if you’re rough with it, and you’ll damage the surrounding walls if you’re not thoughtful about where you’re prying. The opening needs to be clean and square when you’re done.
- Prepare the opening. This is where water damage gets prevented or invited in. Check for rot, replace any damaged wood, make sure the sill slopes toward the outside so water runs off, not in.
- Install the new frame. It goes in level and plumb — use shims to adjust. Nail through the flanges into the framing, not into the jambs. Too tight and you’ll bind the sash; too loose and it will rattle.
- Seal it. Flashing tape goes over the flanges first. Then caulk around the perimeter, inside and out. This is the step that separates a professional installation from one that will leak in five years.
- Trim and finish. Interior trim gets installed and caulked. Exterior trim depends on your siding — some installations need exterior casing, some don’t.
Watch it in action
This tutorial from Artisan Made walks through the whole sequence with a clear pace and good close-ups of the detail work — the kind of thing we pause and rewatch.
When to call a professional
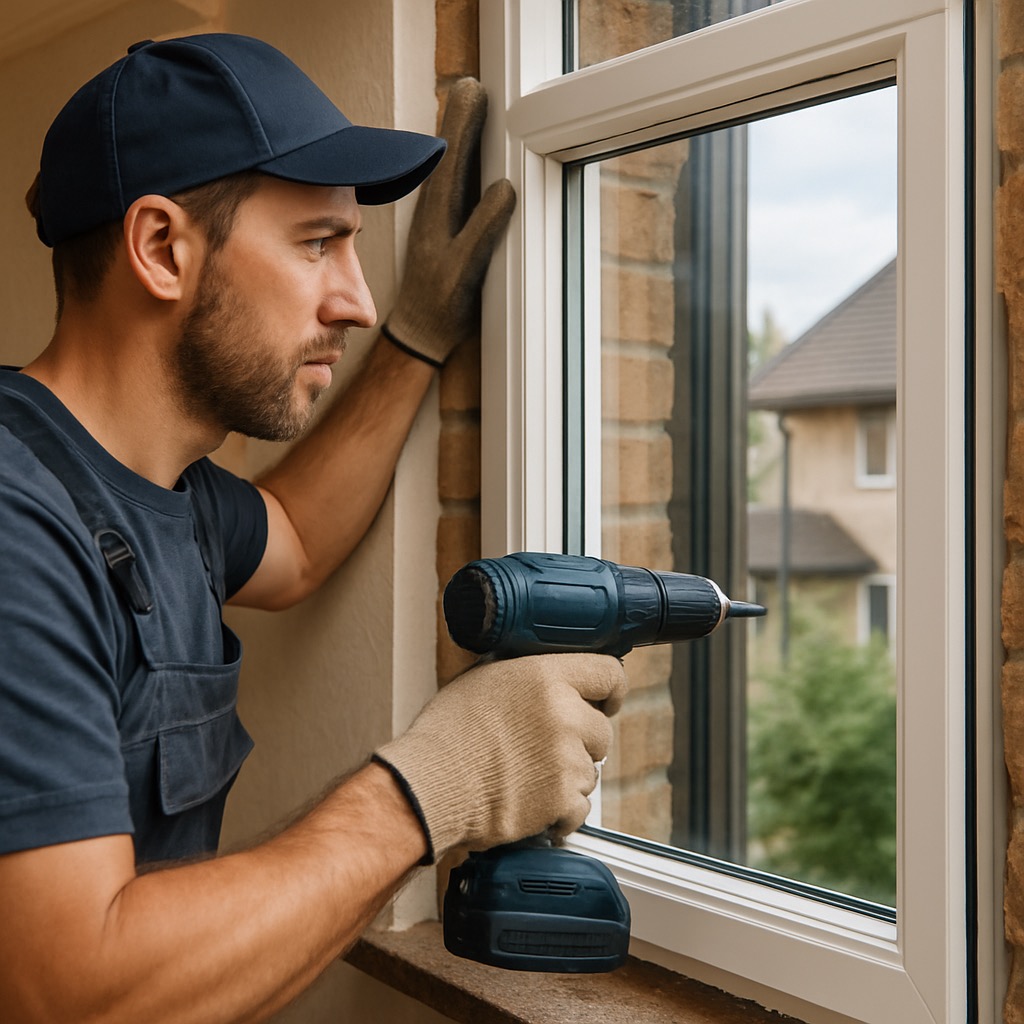
If your windows are single-pane or 15+ years old, energy loss is the real cost — not installation. Older frames often sit crooked in the opening, flashing is deteriorated or missing, and the wood underneath can be soft. If you see water stains on the interior wall or the frame moves when you push on it, the opening needs repair before the new window goes in, and that’s a specialist’s work.
The options compared
Vinyl windows dominate the market for good reason — they don’t rot, they’re efficient, they cost less than wood or fiberglass, and they hold up in rain-heavy climates like ours. Aluminum is lighter and thinner if you’re working in a historic space, but it conducts cold, so most builders don’t use it for the main living areas. Wood looks beautiful and insulates well, but it asks for maintenance every few years if you want it to last.
For the Tri-Cities area — dry summers, wet winters — vinyl replacement windows make the most sense. You’ll find them in double-hung (the traditional up-and-down sash), casement (the crank-out kind), and fixed (no operating sash, just a pane). Which one you choose depends on your framing and your habits — casements are easier to clean if you can reach them, double-hungs are what most older houses have so they read more authentic, and fixed windows are cheapest and most efficient because there’s no mechanism to fail.
What it typically costs
The frame itself
A standard double-hung vinyl window (3×4 feet, double-pane, energy-efficient) runs $200–400 depending on frame options. Casements and specialty sizes run higher.
Labor
Professional installation for a single window takes 2–3 hours in a straightforward opening. If the opening needs structural repair, flashing replacement, or exterior casing, add time. Expect $150–250 per hour in our region.
Surprises
Rotten frame wood, hidden water damage, misaligned openings, or exterior casing that needs matching — these add cost. Budget 20% more than your initial estimate and hope you don’t need it.